Ebike Care &Support
Deal with Error Codes
It signals that the motor current output has exceeded the controller's limits, thus causing the controller to shut off to protect itself. This can occur during long periods of uphill climbing with pedal assist activated on maximum. If you received an error code 21 while riding on a long and steep hill, stop riding and let your e-bike cool down for 2 minutes, then turn your e-bike back on to see if the error code disappears. If you were not climbing and cooling your e-bike down did not resolve the issue, follow the steps below.
- Check that the motor and controller cables are free of grit, undamaged and fully connected.
- If after inspecting the cables 21 disappeared, great!
- If the cables are clean and fully connected, yet you are still seeing a 21 code, please contact RUNDEER support for further assistance.
Disclaimer: When troubleshooting an error code 22, ensure your ebike is turned off and PAS is not on. Do this to avoid activating the throttle on accident while you are testing it.
- Inspect the throttle lever for any obstructions. If anything is present, carefully remove the obstruction out of the way and test the throttle lever to see if it returns to the original position. Similarly, check that the cables are fully connected and not loose.
- If the obstruction does not clear the code or there was none to begin with, check the throttle and throttle cable for damage. Specifically looing for a cut or frayed cable or grit.
- If the Error code 22 persists after following steps 1 and 2, please contact RUNDEER support for further guidance.
Typically what may cause an error code 23 is an obstruction between the connection and the motor, so it is crucial to check for undamaged and clean cables. To troubleshoot this further, read below.
- Check that the cable attached to the motor is free from grit and fully connected.
- If after cleaning and fully connecting the cables your error code 23 disappeared, wonderful!
- If the cables are fully connected and free from grit yer you are still seeing an error code 23, please contact RUNDEER support for additional help.
Error code 24 will display if your ebike detects that the motor cable is not properly connected or there is an issue with a sensor located inside the motor. To troubleshoot this,
- Check if the motor cable plug is free from grit, then confirm that the motor cable is fully plugged in.
- If after cleaning grit from the cable plugs and plugging in the connection firmly the code clears, awesome!
- If the Error Code 24 persists with a clean motor cable plug and fully connected cable, please contact RUNDEER support for next steps.
Error code 25 on your display signals an issue with the brake sensor; Your E-bike’s brake sensor is a motor cut-out mechanism as added safety when riding. RUNDEER e-bike brake levers have either an adjustable sensor or a non-adjustable sensor. Locating the brand of your brake lever will help in the troubleshooting process.
One of the simpler causes for an error code 25 is accidentally activating the brake lever while simultaneously turning your e-bike on. If that’s the case, simply restart your e-bike by turning it off and on so the code can clear. If this wasn’t the case for the error code 25 alert or the code did not clear after restarting your e-bike, follow the steps below to troubleshoot.
- The sensors on your brake levers may not be properly engaging. To test this, disconnect both sensors from both brake levers. (For reference, there are two cables attached to the brake levers; the top are the barrel adjusters and the bottom are the sensor cables).
- After unplugging both brake sensors, plug in the left sensor only. Turn your ebike on and check the code.
- Unplug the left brake sensor so that both brake sensors remain unplugged. Now, plug in the right sensor only, turn your e-bike on, and check if the code reappears.
When contacting RUNDEER Support, please include the following information in your inquiry:
- Which brake lever sensor is faulty: right or left.
- The brand of the brake lever; this information will help a representative from our team identify what type of sensor your e-bike is equipped with.
Error Code 30 signals a communication error between the controller and the display.
- First check that all the connections between the display and controller are properly plugged and free from damage or grit.
- If the code clears after cleaning and fully reconnecting the connections, great news!
- If error Code 30 persists after both cleaning and confirming the connections are plugged, please contact RUNDEER Support.
Display
You can download the full instruction below.
Without a functioning e-bike display, bike riding just isn't the same nor as safe.
When purchasing a replacement bike screen for your e-bike, make sure to select the correct RUNDEER model.
Once you receive your new component, installation can be as quick as unscrewing, screwing, and plugging. The Full Color Display replacement instructions also explain step-by-step how to make this replacement.
Kindly note that the Color Display and power controls that attach to the handlebar are part of the same unit. If either part needs to be replaced, whether it's the display or the power controls, the entire head unit will need to be replaced. The Full Color Display and compatible power control are not sold separately.
Battery
Turning Battery On
Quickly tapping the battery button once will display an indicator light, whether blue, green or red, which tells you your ebike's current charge level. To turn your ebike on, press and hold the power button on the handlebar controls for 3 seconds until your display turns on.
Turning Battery Off
To turn your RUNDEER ebike system off, simply press and hold the power button on your handlebar control for about 3-5 seconds.
Removing the battery
Turn the key counterclockwise and push the lever to the right. Since the Attack 10 is an off-road mountain electric bicycle, in order to prevent the battery from slipping during riding, our battery will be tighter.
Warning:
Using a damaged battery or charger can damage additional components or create a fire hazard. Stop using your battery and charger and contact RUNDEER Support immediately if any of the following occur:
- Your charger’s flexible power cord or output cable, or the electrical cables on your bike is frayed, has broken insulation, or any other signs of damage.
Your battery or charger is physically damaged, non-functional, or performing abnormally. - Your battery or charger experienced a significant impact from a fall, crash, or shipping damage, with or without obvious signs of damage.
- Your battery is leaking a clear, pungent, gel-like substance (which is potentially corrosive and flammable).
- Your battery was submerged in liquid or had extensive water exposure or damage.
- Your charger becomes too hot to touch (it’s designed to get warm with normal use), makes an unusual smell, makes a popping sound, or shows other signs of overheating.
- Store any damaged battery or charger in a safe, dry location away from the house and other flammable materials/structures and, as soon as possible, recycle or otherwise dispose of it according to local rules. Contact RUNDEER Support if you have any questions. In the case of a leaking battery as described above, call RUNDEER immediately.
Several factors could affect mileage, and the most common reasons can sometimes be the simplest to resolve. If none of the following factors help resolve your issue, please reach out to our support team for additional help.
- Underinflated tires (low PSI): Low tire pressure is the number one reason for not getting expected miles from a single battery charge. Check tire pressure frequently to make sure tires are inflated to the recommended PSI value (pound per square inch). A mere 10 PSI below the recommended value can significantly lower the miles you’ll get on a single charge. You’ll find the PSI value stamped on the side of the tire.
- Cargo or extra weight: Heavier loads will demand more from your battery, causing lower mileage (just like a car). Rad ebikes can carry a LOT of extra weight, but each model has a “payload capacity” limit, defined as the combined weight of the rider, passenger(s), additional gear, accessories, and cargo. If your ebike is carrying the higher end of this limit, the battery charge will not last as long as when the ebike is carrying just the rider.
- Hills and road surface: A battery that’s powering an ebike across a flat, smooth surface (e.g. a paved bike trail) will last longer than if it’s powering that same ebike up hills or across bumpy, varied terrain (e.g., gravel or dirt).
- Throttle or Pedal Assist System (PAS) usage: Using the throttle and PAS consumes extra battery power. Using lower pedal assist levels can increase your mileage per charge.
- Stop-and-go traffic or headwinds: Frequently stopping and then getting your ebike up to speed, or riding into headwinds can also lower the miles your battery gets on a single charge.
- Air temperature: The environmental temperature while riding the ebike or while the battery is in storage can impact mileage. If you're riding in below (or near) freezing conditions, you can expect slightly less range. Storing the battery above room temperature can hurt performance too.
Brakes
With a brand new bike, a small amount of brake rubbing and noise can occur during a break-in period known as bedding-in new brakes. Rubbing and noise will often resolve over time with normal brake use (after about 25-50 miles). Ebike brakes and components may wear out faster than would be the case for non-motorized bicycles, requiring more service. If you are experiencing brake noise after the break-in period (25-50 miles), follow the steps in this article to adjust the brakes.
The hydraulic brake adjustment will involve:
- Checking the wheel to make sure it is fully seated in the frame dropouts. An improperly seated wheel can cause the brake rotor on the wheel to rub on the brake pads and cause noise.
- Checking that the brake rotor is true (straight) and in good condition. A damaged or dirty brake rotor can lead to reduced brake performance or noise.
- Centering the brake caliper by adjusting the positioning so the brake pads are centered and parallel to the brake rotor. A brake pad or brake caliper that is not properly positioned can lead to reduced brake performance or noise.
- Adjusting the brake lever reach. Make sure the brake lever is adjusted to a position that is comfortable for you.
Follow this guide to replace the hydraulic brakes on your bike in the unlikely event one or more of these components become damaged or determined to be non-functional by RUNDEER Support. Ebike brakes and components may wear out faster than would be the case for non-motorized bicycles, requiring more service.
The replacement hydraulic brake set consists of a brake lever, brake hose, and brake caliper. All pieces must be replaced together--do not disconnect the brake lever or brake caliper from the brake hose as this will result in loss of braking fluid and/or the introduction of air bubbles into the brake lines, leading to brake failure.
Warning
Do not flip over your e-bike to perform work on hydraulic brakes, as this can introduce air bubbles into the brake lines, which can lead to brake failure. Any work on hydraulic brakes must be performed while the ebike is on a bike repair stand or lift. If you do not have the required tools or are not confident in your ability to successfully and safely perform all steps, we strongly recommend having the work performed or checked by a local, certified, and reputable bike mechanic.
Tools Needed:
- Bike repair stand or lift
- Flat-side cutters
- Isopropyl alcohol
- Paper towels
- Flat-head screwdriver
- 2 mm, 2.5 mm, 3 mm, 4 mm, 5 mm Allen wrenches
- Torque wrench
- A few zip ties
- Brake pad separator
- The replacement hydraulic brake system
Remove the Old Hydraulic Brake Components
- Get the bike ready for maintenance. Turn off the bike, remove the battery, and press and hold the Power button to discharge any remaining power.
- Locate the correct caliper. Locate the caliper you’ll be replacing. The rear caliper connects to the right brake lever, and the front caliper connects to the left brake lever.
- Remove the caliper. Use a 5 mm Allen wrench to loosen and remove the two bolts holding the caliper to the frame or fork.
- Remove the brake hose. Trace the brake hose from the caliper and remove it from the bike. (1)The front brake hose is attached to the fork by a clip and zip ties around the wiring harness. Cut the zip ties with flat-side cutters. Use a 4 mm Allen wrench to remove the brake hose from the clip. (2) The rear brake hose is attached to the frame via the external cable cover and zip ties on the chainstay. Cut the zip ties, and use a 2.5 mm Allen wrench to partially unscrew the four bolts connecting the external cable protector to the frame. Pull the rear brake hose from underneath the external cable protector so that it hangs freely.
- Remove the grip. There are two types of handlebar grips. Lock-on grips have a single bolt securing the grip to the handlebar. Standard grips do not have any bolts securing the grip to the handlebar. If the brake lever has a two-piece clamp design, you do not need to remove the grips or throttle, and can skip steps 5-6 and proceed directly to removing the brake lever. (1) Lock-on grips are secured by a 3 mm Allen bolt. To remove these grips, remove the bolt with your 3 mm Allen wrench, use a flat-head screwdriver to remove the grip end cap, and then slide the grip off of the handlebar. (2) For standard grips, use a flat-head screwdriver to remove the grip end cap, and then twist and pull the grip off the handlebar end. If needed, apply a small amount of rubbing alcohol in between the grip and the handlebar as temporary lubrication: carefully insert the screwdriver between the handlebar tubing and the grip, pry the grip away from the handlebar slightly, then use a paper towel or squeeze bottle to apply the alcohol in the gap.
- Remove the throttle (if replacing the right brake lever). (1) Unplug the throttle connector. Trace the cable from the throttle to the connector. Snip the zip tie and pull the connector apart, without twisting, to unplug. (2) Loosen the throttle clamp bolt. Use a 3 mm Allen wrench to loosen the throttle clamp bolt. (3) Remove the spacer and then the throttle. Slide the spacer and throttle off the handlebar end, making note of the spacer orientation, which is critical for reinstallation.
- Unplug the brake connector. Trace the cable from the lever to the connector, then pull apart, without twisting, to unplug.
- Remove the old brake lever. Use a 5 mm Allen wrench to loosen the brake lever clamp bolt (left), then slide the lever off of the handlebar. If the brake lever has a two-piece clamp design (right), use a 5 mm Allen wrench to remove the two clamp bolts, and then remove the lever. Recycle the old hydraulic brake components according to local rules.
Install the New Hydraulic Brake Components
Motor
Irregular noises from the motor can be caused by a variety of scenarios, whether something is going on internally inside the motor or the issue is purely external. If your e-bike's motor is making unusual noises, the first step we recommend is to visit a RUNDEER dealer or local bike shop. It is best to diagnose motor noise concerns in person, whenever possible.
If you are unable to visit a RUNDEER dealer or local bike shop, please contact RUNDEER support for further assistance. In your inquiry, please include a video recording(s) of the issue(s) you are having. This information will help our team of representatives troubleshoot to understand what conditions are causing the noises. The following are some guidelines for the video footage, so our team can work to diagnose your issue:
Film your e-bike in the condition(s) that cause the noise. For example, if you only hear the motor noise while biking at a certain speed, throttle, or PAS level. Or, if only when coasting versus actively pedaling.
Please note that motor noises typically will not reproduce exactly if your e-bike is stationary or on a bike stand (i.e. not in the condition causing the sounds), however if it does, great!
Record the conditions and sounds are clearly as possible.
Take special note of whether you are pedaling or not when the noise begins. This also applies to throttle use, terrain riding in, and what speed you're biking at.
If you needed to purchase a replacement component and once you receive your new torque sensor, we recommend taking your e-bike to a RUNDEER dealer for installation. Special tools are required to remove the left crank arm in order to situate the torque sensor correctly.
Frame
To replace the kickstand(also known as a center stand) on your RUNDEER e-bike, first, ensure you’ve located the correct replacement item. The RUNDEER kickstand purchased needs to match the bike model that is needing this component.
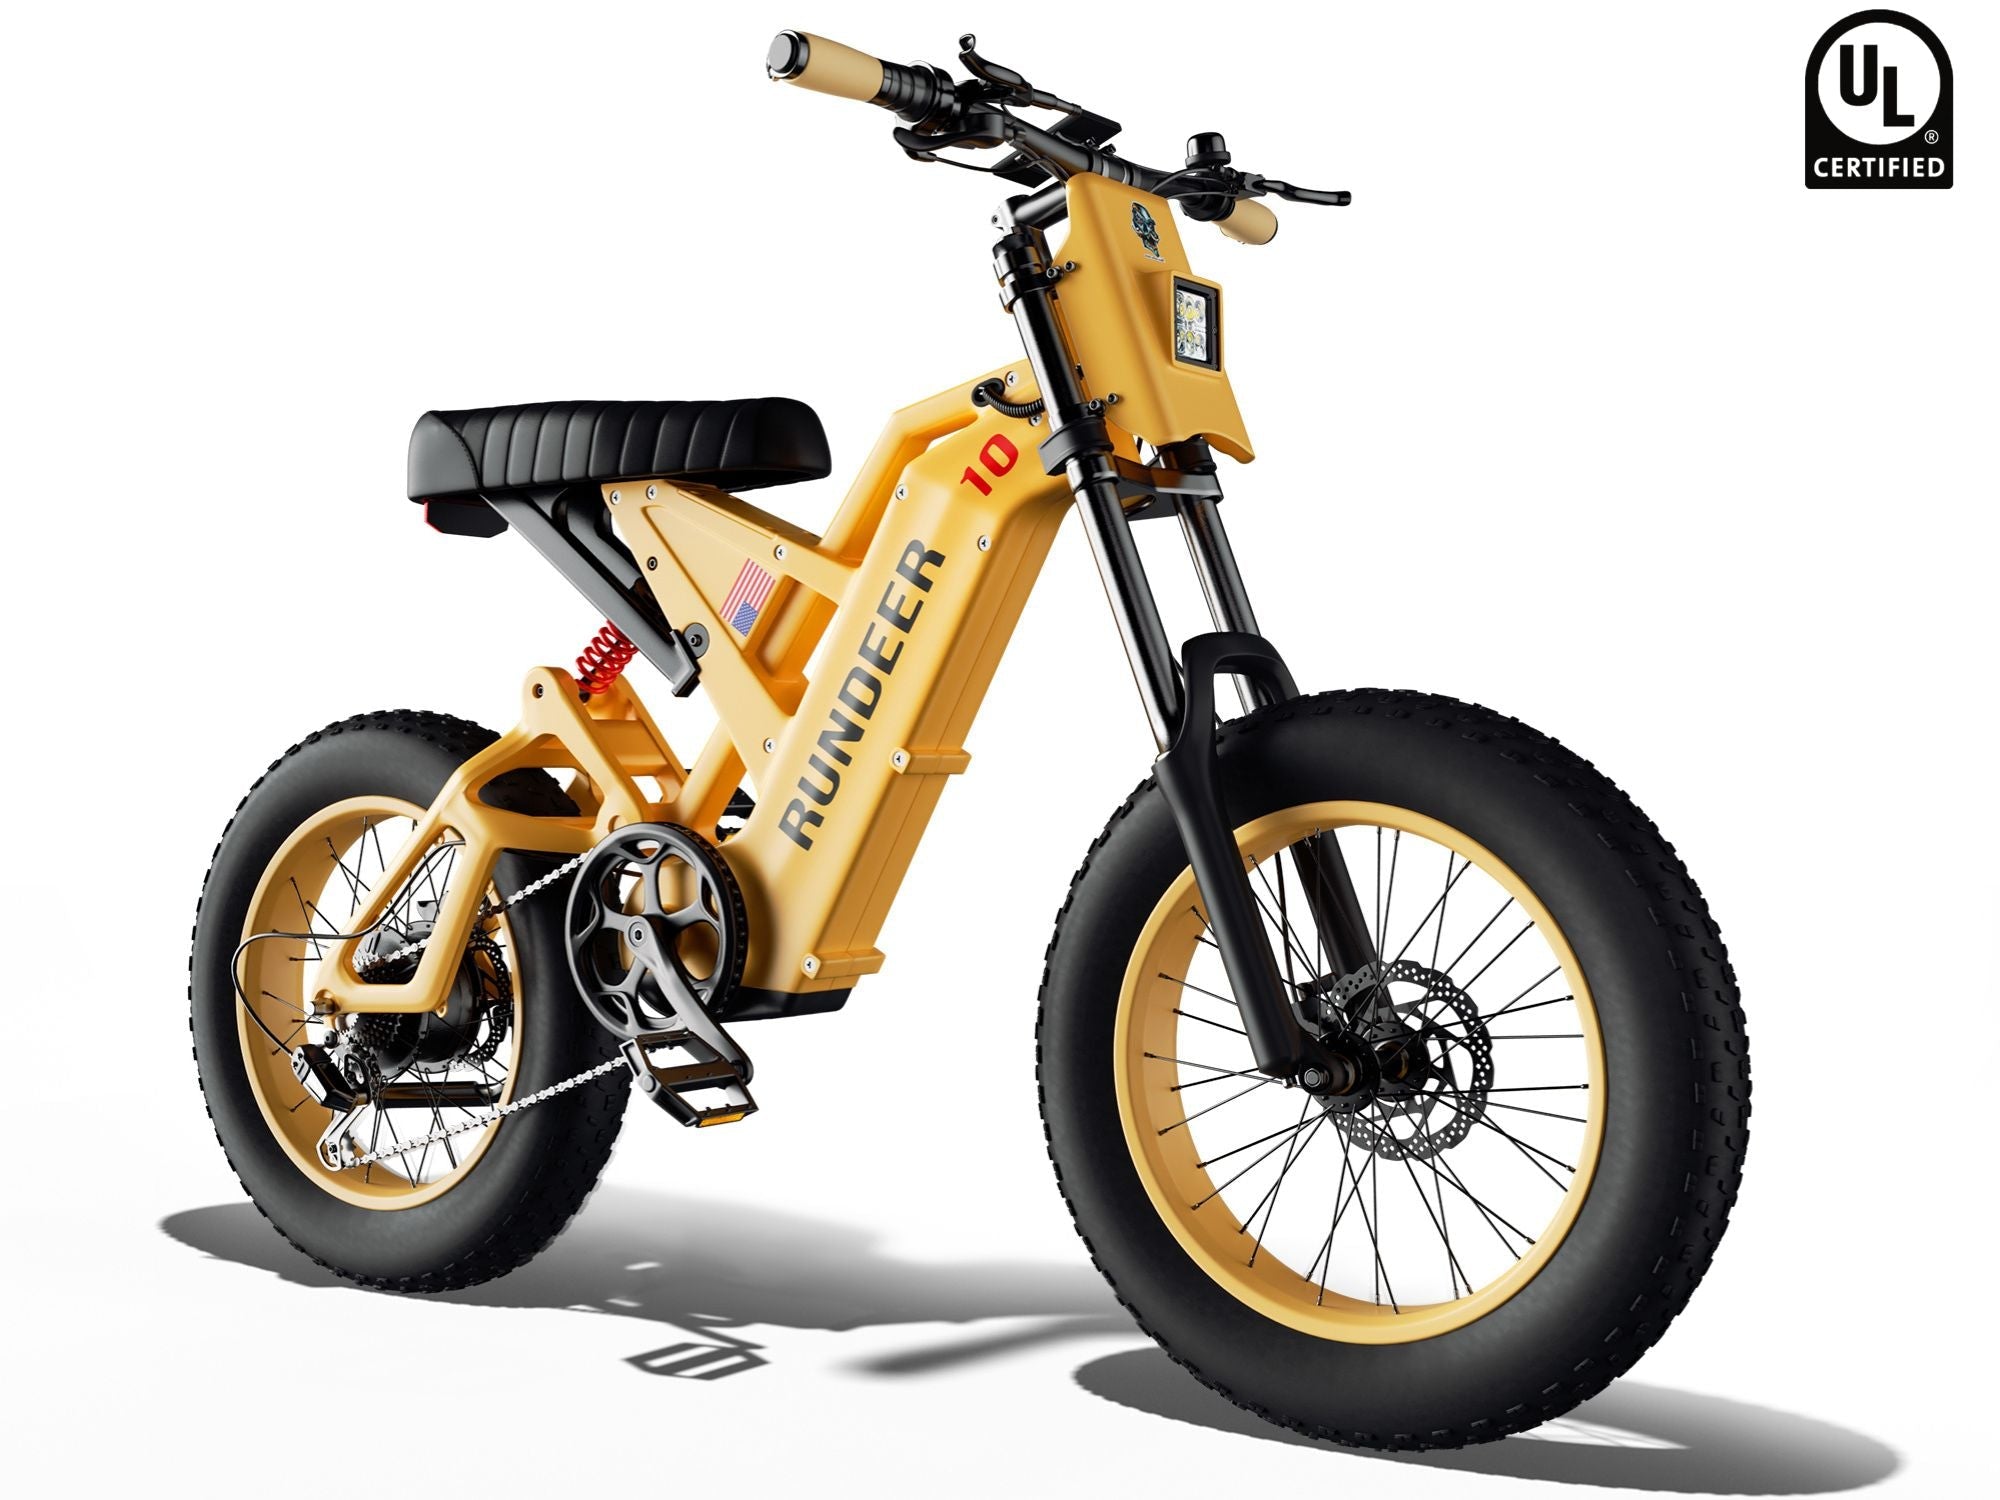
Due to Attack 10 is made of magnesium alloy, you cannot weld on the ebike, you can only drill.
Fork
If you need to replace the suspension fork on your RUNDEER e-bike, please contact RUNDEER support. An agent from our team will further assist you with placing an order for the same stock suspension fork for your RUNDEER e-bike. Once you receive your order for a replacement suspension fork, locate a RUNDEER dealer or contact a local bike shop to assist with installation.
Replacements, modifications, or changes to the fork that arrives on your RUNDEER e-bike, without first consulting with RUNDEER Support, can put you at serious risk for injury and void your warranty. Replacing your existing fork with a fork that has different travel and/or overall measurements will alter the geometry of your frame, resulting in unsafe riding conditions. For this reason, RUNDEER prohibits making any changes, swaps, or modifications to the stock suspension fork on your RUNDEER e-bikes.
Tires & Wheels
As electric bike tires age, see more wear, and as the elements take their toll, they will need to be replaced. Wear may vary from tire to tire, but the following are some general warning signs that it's time to replace your tire:
Standard wear-and-tear, misuse, and puncture or cuts accumulated from biking
The tread looks worn out
There are cracks in the tire wall
Cords are showing and/or there are cuts in tread in the sidewall
Any cracks shown on the sides of the tire
There are four basic steps to replacing your tire (and tube if needed): removing the wheel, removing the existing tube, patching or replacing the tube, and reinstalling the wheel. If repairing your tube, you'll need a patch kit. A replacement will require a new tube. Determining the correct tube size for your RUNDEER e-bikes will rely on the width of its tires.
E-bike Maintenance Guide
To ensure your RUNDEER e-bike's longevity and smooth operation, and your safety when riding, we recommend regular pre-ride and post-ride checks, as well as bi-annual and annual check-ups. The following is a general overview of the e-bike checks you should incorporate into your biking routine, both regularly and less regularly long-term. For those riding their e-bike daily, you'll want to follow these schedules very closely. For more intermittent and casual riders, you will need less frequent routine tune-ups. For our more expansive and detailed list, view our Ebike Maintenance Guide and Schedule. If you have questions regarding your RUNDEER e-bike and its maintenance, please contact RUNDEER Support.
Pre-Ride Checklist
Before heading out on a bike ride, you'll want to make sure your e-bike is both secure and prepped. This means your tires are properly inflated, the brakes are actively working, the headset is tight, the chain is clean and lubed, and the battery is sufficiently charged. With a little practice, you'll be able to knock this out in about 5 minutes!
Post-Ride Checklist
Now, after each ride, it's time to inspect your e-bike and get ready to wind it down. Some of these include inspecting the tires, rims, and derailleur for dirt or damage, wiping down the frame with a rag, and charging the battery if you're running low. In time, this should also be a quick and straightforward check!
Weekly E-bike Checklist
A little more in-depth than pre-ride and post-ride checks, you'll want to inspect, clean, and maintain the following weekly.
- Wipe down chainrings, cassette, and derailleur pulleys.
- Check and tighten the crankset.
- Inspect brake pads.
Monthly E-bike Checklist
Monthly bike checks will require a more in-depth inspection of your bike and tune-ups as necessary. You'll need to:
- Check for chain water
Wipe down and lubricate suspension sliders (if applicable) - Lube all braking and gear shifting cables
- Degrease and lubricate the chain & all chainrings, both front and back
- Lubricate all other drivetrain elements i.e. the derailleur and chain
Six-Month Checklist
The bi-annual, or a bike check around the six-month mark, is commonly known as a complete tune-up. For daily e-bike riders, a complete tune-up is required about twice a year. For casual riders, a complete tune-up is only needed about once a year. This bike check can be done through a RUNDEER dealer or local e-bike shop. Not only will they inspect and adjust your braking system, drivetrain, tires and wheels, and a few other components but they will make adjustments as necessary to ensure your bike is in its optimal shape.
Annual Checklist
An expansion of the six-month checklist, annual bike checks will involve everything from the bi-annual check along with a complete breakdown and inspection of your e-bike: checking all the components, cleaning and lubing them, and putting everything back in its place. For the daily e-bike rider, this check should be completed annually. For casual riders, an annual check may be completed once every 18 months to 2 years. An annual e-bike check may also be done through a RUNDEER dealer or local bike shop.


